Where should you start?
After one prepares for disassembly, you are now ready to start taking things apart. A very good place to begin is with a power wash. It really helps to knock off as much dirt as possible before you begin. If you pick your project up on a trailer, consider stopping by a car wash on your way home and blasting off the dirt and grease. If you’re past that point, roll the project out on your driveway and get a power washer to give it a thorough cleaning.
One word of warning. You will be dealing with all manner of chemicals, paints, solvents, and gasoline. It is up to you to read and follow all directions for the safe use and disposal of these products. Don’t become lazy and create a fire hazard, or poison yourself—or your family or pets. And don’t turn your work area into a toxic wasteland.
Where do you start with actually removing parts?
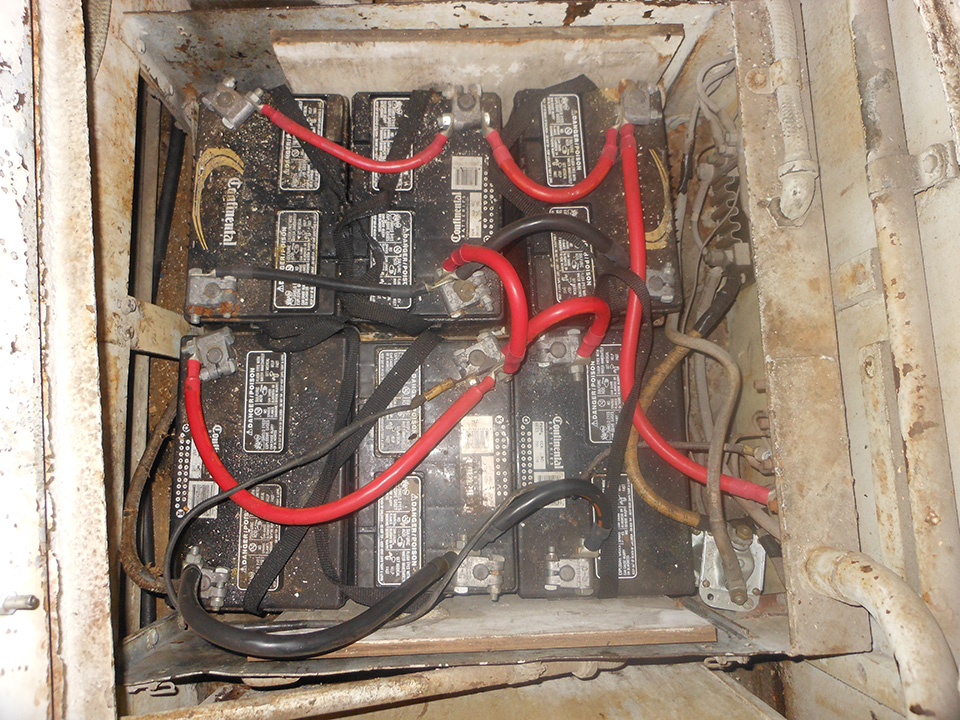
I suggest you first remove the battery. You will not need it for some time. If it’s still live, removing it now will prevent unexpected shorts as you remove other electrical items. Note the battery voltage. Batteries make two volts per cap or cell. Three caps a six volt, six caps a 12 volt. If more than one battery is installed, determine their voltage and see if they are wired in parallel or series. Parallel wiring maintains the voltage and increases the amperage. In parallel wiring all the like terminals will be connected. All the positives together and all the negatives together. In series wiring you increase the voltage. There will be at least one wire connecting a positive terminal to a negative terminal. Note if it is positive or negative ground. The ground is the wire connected to the vehicle. Disconnect that side first, then disconnect the other side. This is the best way to keep from shorting things out if your wrench grounds to any part of the vehicle. Remove any battery hold downs, remove the battery and store it out of the way.
Next remove the gas tank.
Again, you will not need it for some time and you will be removing a potential hazard to yourself. If you can safely do so, you might want to drain the tank before removing it. Most tanks have a drain located under the tank—usually just a threaded plug. If the plug is hard to get to or it will be difficult to collect what drains out, consider taking the tank out and then draining it. The tank will be heavy. Support it with a floor jack during removal. If you have a filler neck remove that first. Remember to dispose of any contents in a safe manner consistent with local regulations.
What should you take off next?
Since you are taking everything off it doesn’t matter too much, but planning the disassembly may save some time and trouble as you progress. If you need to remove the engine, cab or body with a hoist and need to roll the vehicle outside to do that, then leave the axles and tires on until that is finished. Think through the steps of your plan to consider what is easiest.
When deciding what to take off next, consider starting with parts that will make access easier as you move along. Taking off the hood makes a lot of room very quickly. Removing the radiator early is also a good plan. The radiator is somewhat delicate and having it out and in a safe place is a good idea. Remember antifreeze is a poison. It tastes sweet. Your children and pets may drink it. Catch what you drain, clean up what you spill, and store in appropriately marked containers, never in old food containers. Dispose of the antifreeze promptly and properly. After you remove the radiator there will still be some antifreeze in the engine block. It will come spilling out when you tilt the engine up to remove it. Be aware of this when the time comes.
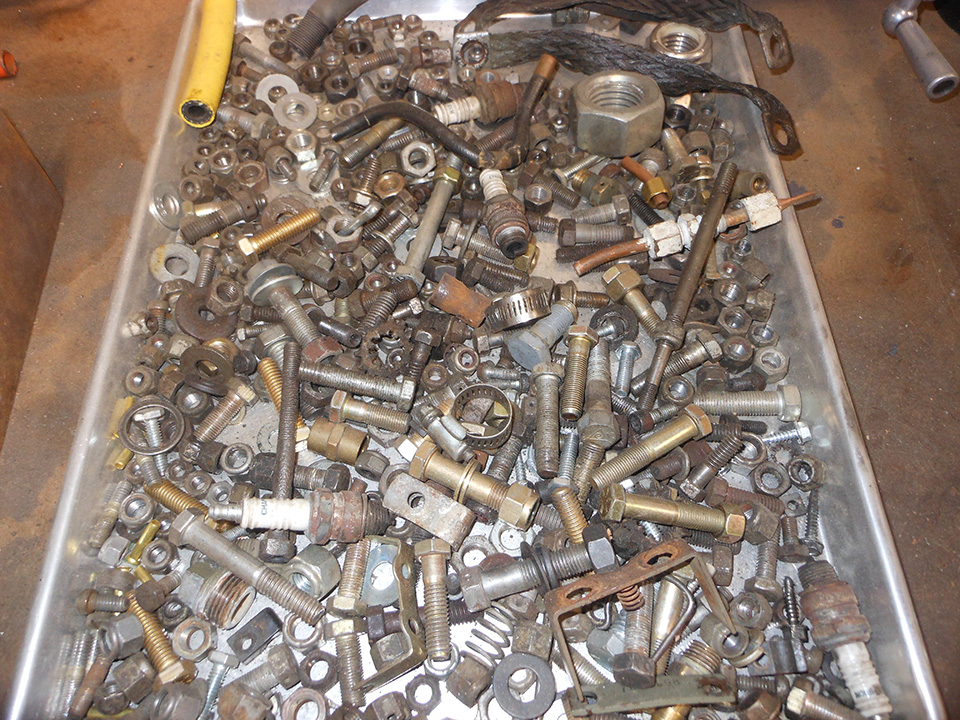
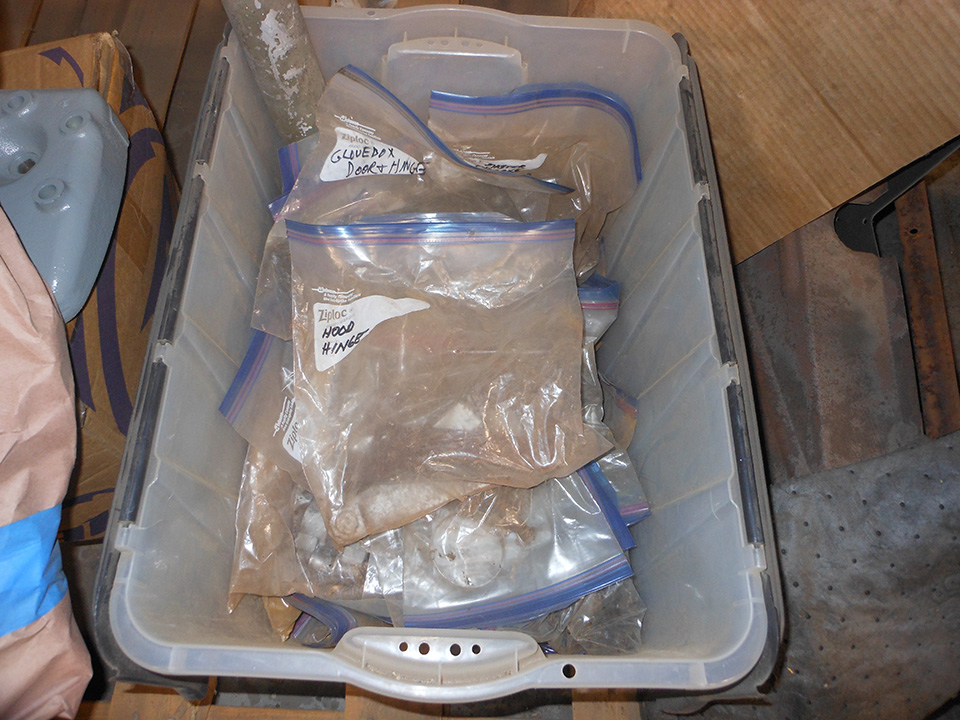
Wow! We are rolling along here, taking things apart. That’s great, but remember the saying “if things are going too well there is probably something wrong.” What can be wrong, you ask? Well, we really haven’t stopped to organize what we have taken off. By now there is probably a small pile of nuts and bolts on your workbench and in your tool box. Right now you know where they all came from and where they all go. In a year you probably will have no idea. Now, or really before you started, was the time to organize the parts you take off. The simplest way is to get plastic bags.
As you take things apart, put the nuts and bolts in the bag and label the bag. A detailed note is better than a short note. Check the pen you are using to see that it doesn’t rub off the bag. You can also write a note on a piece of paper and include it in the bag. As you take things apart see that all the bolts are the same length. If not, sort out why some are longer and where they belong in the assembly. Next, get a box or tub and store all the plastic bags of hardware together in that one place. You might even consider numbering the bags sequentially. This will quickly show whether you have misplaced a whole bag of hardware.
When you are working on your project it is easy to be excited and to want to put in long hours. That’s great, but pay attention to how you feel. Are you getting tired? That’s when you make mistakes. It is easy to be distracted and cause injury to yourself or damage the project when you’re tired.
If you are tired, distracted, angry, or have your mind on something else...the workshop is no place for you.
Take a break until you are rested and your head is clear and focused on the task at hand. Remember to save part of your time at the end of the day to clean up. Before you turn off the lights and go home, take some time to be sure you have bagged all your loose hardware. Put your tools back where they belong. Roll up your extension cords and air hoses. Turn off the air compressor and drain the water. Sweep the floor and empty the trash. All of this will put you in a good place when you start again. Nothing builds frustration like not being able to find the tools you need when you want to get to work.
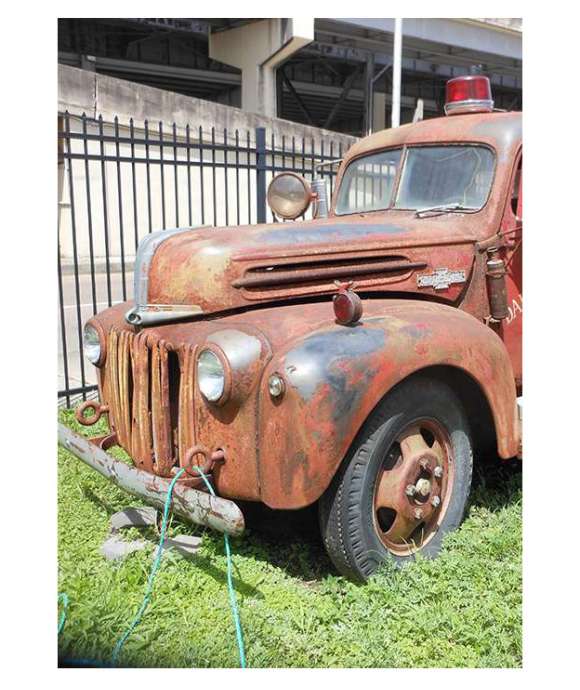
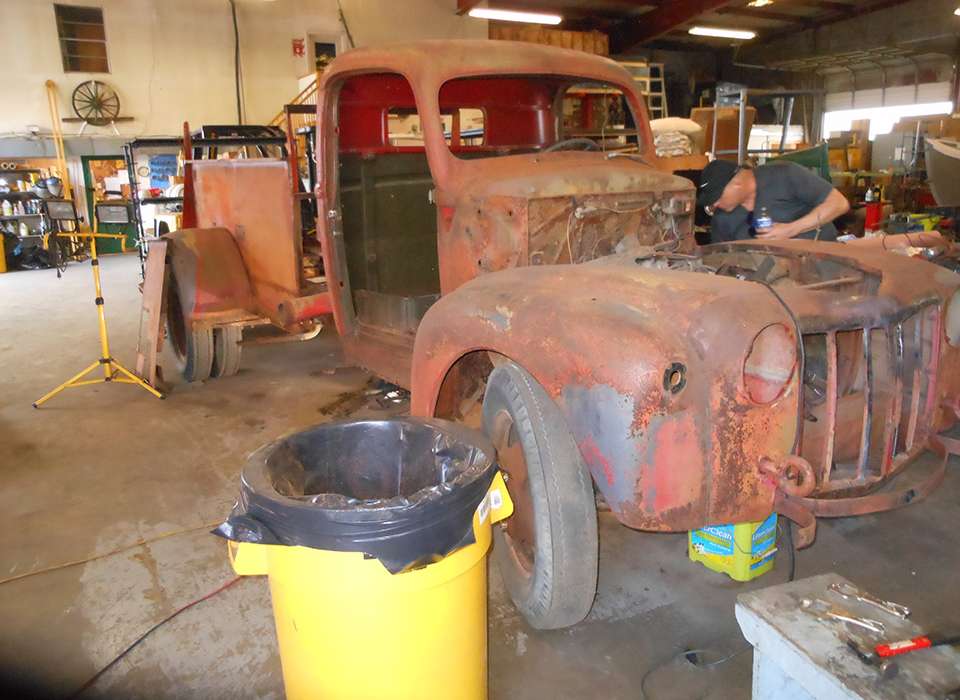
SHOP TALK: Frame Off Restorations Part I
There are many ways to restore a vehicle but the frame off method is considered the gold standard.

Tom Czekanski
Cite this article:
MLA Citation:
APA Citation:
Chicago Style Citation: